
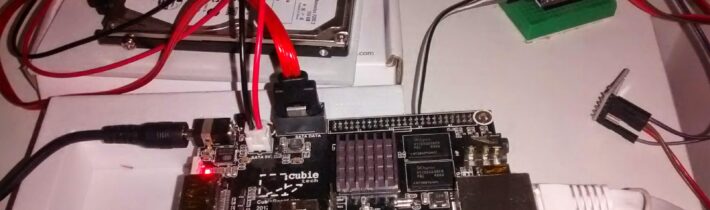
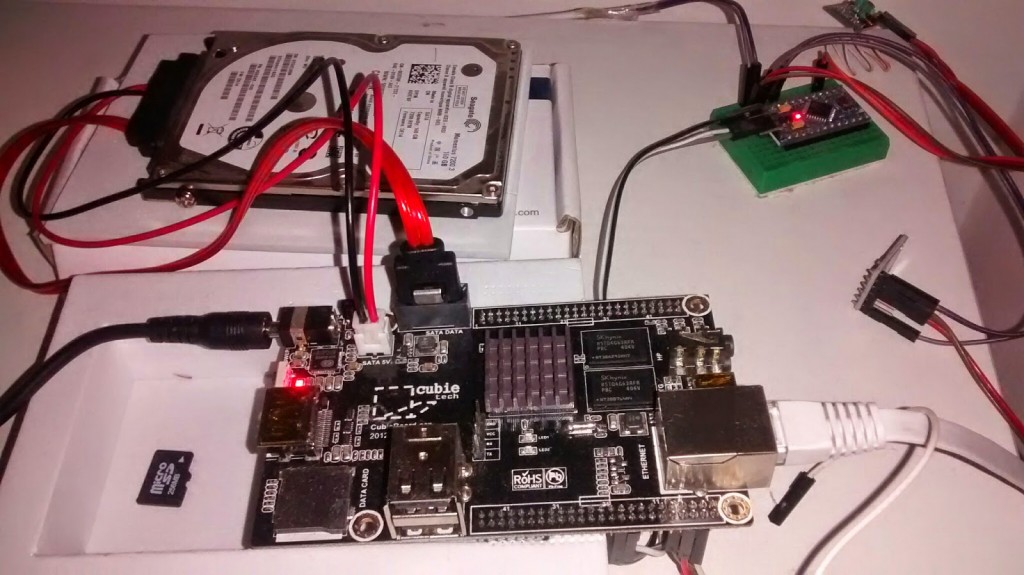
The main advantage of cubieboard is it’s SATA connector. I have old HDD from notebook, so I wanted to use it as a media server.
This post has 3 parts related to HDD connected to Cubieboard2 with lubuntu:
- Mounting HDD
- Backup NAND
- Spin down HDD
There are many ways to see all disks and partitions but my favorite command is lsblk:
sudo lsblk -o NAME,FSTYPE,SIZE,MOUNTPOINT,LABEL
NAME        FSTYPE   SIZE MOUNTPOINT LABEL
sda                149.1G
nand                 3.7G
|-nanda     vfat      64M            Volumn
`-nandb     ext4     3.6G /
mmcblk0              241M
`-mmcblk0p1 vfat     241M            SSD
or also fdisk:
sudo fdisk -l
Mounting HDD
To create an ext2 partition (for media I do not need ext4):
sudo mkfs -t ext2 /dev/sda1
I already created a folder and copied some files to HDD connected directly to my desktop PC so after mount I saw folders and used capacity.
These are commands that mounts drive to /media/disk folder.
sudo mkdir -p /media/disk
sudo mount /dev/sda1 /media/disk
cd /media/disk/
l
 Movies/ lost+found/
df -h
 Filesystem Size Used Avail Use% Mounted on
 /dev/root 3.6G 1.6G 1.9G 45% / dev
 tmpfs 406M 4.0K 406M 1% /dev
 tmpfs 20M 8.0K 20M 1% /tmp
 none 82M 188K 81M 1% /run
 none 5.0M 0 5.0M 0% /run/lock
 none 406M 0 406M 0% /run/shm
 none 100M 12K 100M 1% /run/user
 /dev/sda1 147G 49G 91G 35% /media/disk
and my favorite lsblk
sudo lsblk -o NAME,FSTYPE,SIZE,MOUNTPOINT,LABEL
NAME        FSTYPE   SIZE MOUNTPOINT  LABEL
sda                149.1G
`-sda1      ext2   149.1G /media/disk Media
nand                 3.7G
|-nanda     vfat      64M             Volumn
`-nandb     ext4     3.6G /
mmcblk0              241M
`-mmcblk0p1 vfat     241M             SSD
To have mount persistent also after reboot, you have to add line to /etc/fstab:
sudo mcedit /etc/fstab
After the change sudo cat /etc/fstab has the following output on my cubieboard2:
# UNCONFIGURED FSTAB FOR BASE SYSTEM
tmpfs            /tmp           tmpfs    size=20m 0       0
/dev/sda1        /media/disk    ext2     defaults 0       2

Since I already had data on it, I have changed the owner of the folder:
sudo chown -R linaro Movies/
In next posts I will configure minidlna server and add some NAS features as samba and ftp:
- configuring minidlna – media server on ubuntu
- configuring SAMBA – windows sharing – TODO
Backup NAND
Since now I have lot of available space, it might be a good idea to have backup of my data in NAND memory.
To have a copy of the data in the first megabyte of your NAND. This contains the boot0 bootloader. If anything goes wrong, you can use this to set up a working nand boot partition again.
sudo dd if=/dev/nand of=./nand.1M.img bs=1M count=1
1+0 records in 1+0 records out 1048576 bytes (1.0 MB) copied, 0.0166266 s, 63.1 MB/s
To have a copy of the data in the boot partition. If anything goes wrong, you can use these files to set up a working nand boot partition again.
sudo mkdir /media/nanda
sudo mount /dev/nanda /media/nanda/
sudo tar -zcvf ./nanda.original.tar.gz /media/nanda
tar: Removing leading `/' from member names
/media/nanda/
/media/nanda/sprite.axf
/media/nanda/linux/
...
/media/nanda/script.fex
It might be safer to also create an almost full copy of your nand:
sudo dd if=/dev/nand of=/media/disk/backup/nand.img
 7782400+0 records in 7782400+0 records out 3984588800 bytes (4.0 GB) copied, 367.863 s, 10.8 MB/s

Also create a MD5 check sum, so you can check it if it safe to use the image:
sudo md5sum nand.img
3438a6f4709d232d0409de947213112f  nand.img
I hope I will not need these backup files, but who knows…
sudo dd if=nand.img of=/dev/nand
I’ve found this youtube video where you can see how to destroy your nand and use the backup image.
So I did also gzip img version so to restore I can just follow that video:
dd if=/dev/nand bs=1M | gzip > /media/disk/backup/ nand_back_20140531.img.gz
After 20minuts the file was created with 777MB (and not 4GB as pure img file).

And to restore it I will execute (hope will not need it):
sudo bash -c "gzip -dc nand_back_20140531.img.gz | dd of=/dev/nand bs=1M"
to restore partitions:
sudo hdparm -z /dev/nand
cat /proc/partitions
Also nice video how to move root partition to HDD.
Spin HDD down
Spinning down and up a lot will wear the drive and potentially lower lifetime. Since this is not my case I decided to activate spinning down of HDD. I will reconsider if I will periodically store some data to HDD. Spinning down also decreased used power and I’ve written post regarding the power consumption comparison.
First we need to nstall hdparm tool:
sudo apt-get install hdparm
The easiest way is from GUI (in my case via VNC).
Disk Utility -> select HDD drive -> click on the “More actions…” icon on the top right corner -> Drive settings…

This tool is NOT WORKING in my environment. If I press OK, no action is performed. I will have to find out the solution for this…
If you want to do it from the terminal try this man page of hdparm.
To simple change spin down time from terminal:
sudo hdparm -S 25 /dev/sda
 /dev/sda:
  setting standby to 25 (2 minutes + 5 seconds)
Now I will wait 2 minutes and 5 seconds, if it really spins down. I will put it to hdparm config file /etc/hdparm.conf later and update this post or I can insert the line (sudo hdparm -S 25 /dev/sda) in /etc/rc.local file.
The number after hdparm -S specifies the duration (this how-to lists all values) and in general the values are:
- Values between 1 to 240 work in 5 second steps
- 241 to 251 values work in 30 minute steps
- The values >252 are defined differently
To check from command line in what state is you HDD:
sudo hdparm -C /dev/sda
    /dev/sda:
     drive state is:  active/idle
After spin down:
sudo hdparm -C /dev/sda
    /dev/sda:
     drive state is:  standby
To see the usage of you disk:
cat /proc/diskstats
If you want to see it during a time and put it to file named stats (see this guide for more info):
while sleep 1; do grep nandb /proc/diskstats; done > stats_nandb
while sleep 1; do grep sda1 /proc/diskstats; done > stats_sda1
Spin HDD down in cron
I use also minidlna and sometimes the HDD doesn’t spin automatically down. I have created an executable file hd_exec with the following commands:
#!/bin/bash

if /sbin/hdparm -C /dev/sda | grep -q "standby"; then
        exit
else
        /sbin/hdparm -S 25 /dev/sda
fi
To run this file every 4 hours add to root cron: sudo crontab -e
the line:
1 */4 * * * /home/linaro/projects/hd_exec
The more sophisticated way to ensure the HDD spin down: info4admins.com/tips-to-spindown-your-hard-disk-in-debian-or-ubuntu/
References
Usefull links that I used: