
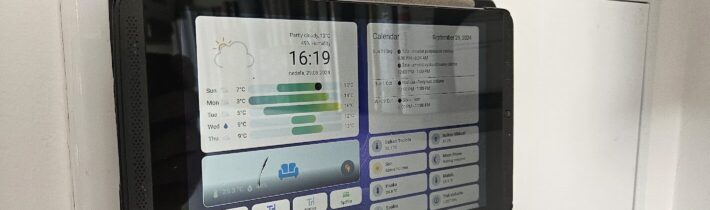
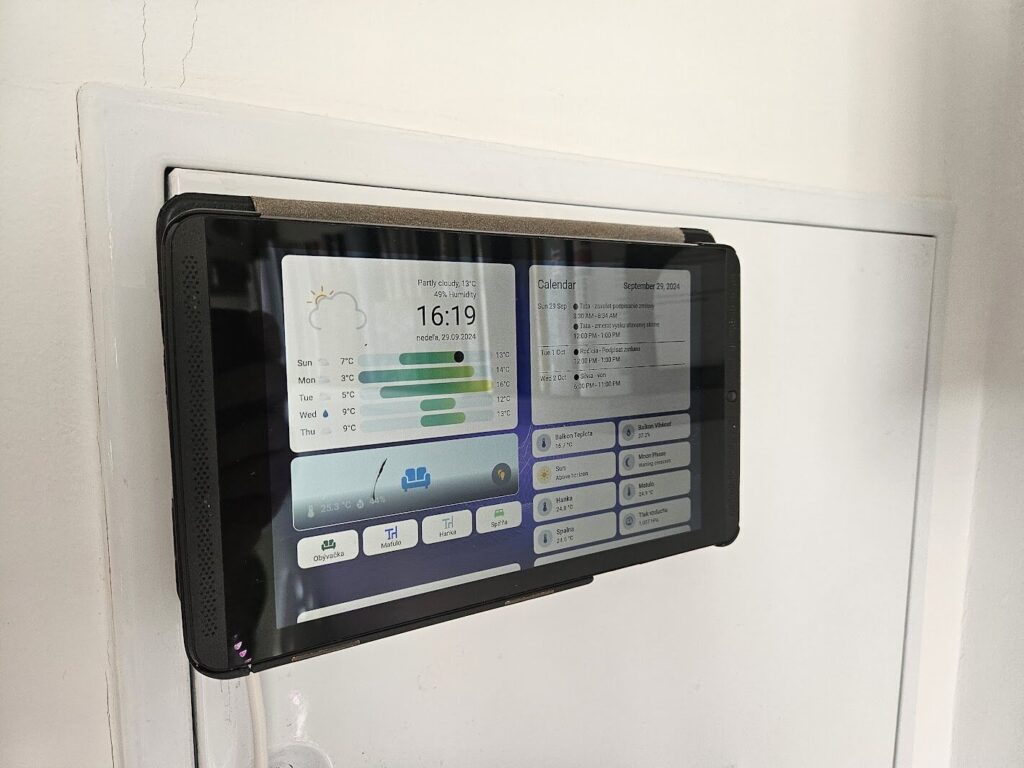
As a Home Assistant enthusiast, I wanted a dedicated, always-on display to monitor and control my smart home. Repurposing my old Nvidia Shield Tablet seemed like the perfect solution. However, the aging battery was generating unnecessary heat and wasn’t needed for a wall-mounted setup that’s constantly plugged in. In this guide, I’ll walk you through how I removed the battery from my Nvidia Shield Tablet and set it up as a sleek wall-mounted dashboard using the Fully Kiosk Browser app.
Why Remove the Battery?
- Heat Reduction: Old batteries can overheat, posing a safety risk and potentially damaging the device.
- Improved Performance: Removing the battery can alleviate strain on the tablet’s hardware.
- Safety: Eliminates the risk of battery leakage or swelling over time.
- Efficiency: Since the tablet will be continuously powered, the battery becomes redundant.
Step-by-Step Instructions
Disclaimer: Proceed at your own risk. Modifying your device may void warranties or cause irreparable damage. Ensure you’re comfortable with electronic work before attempting.
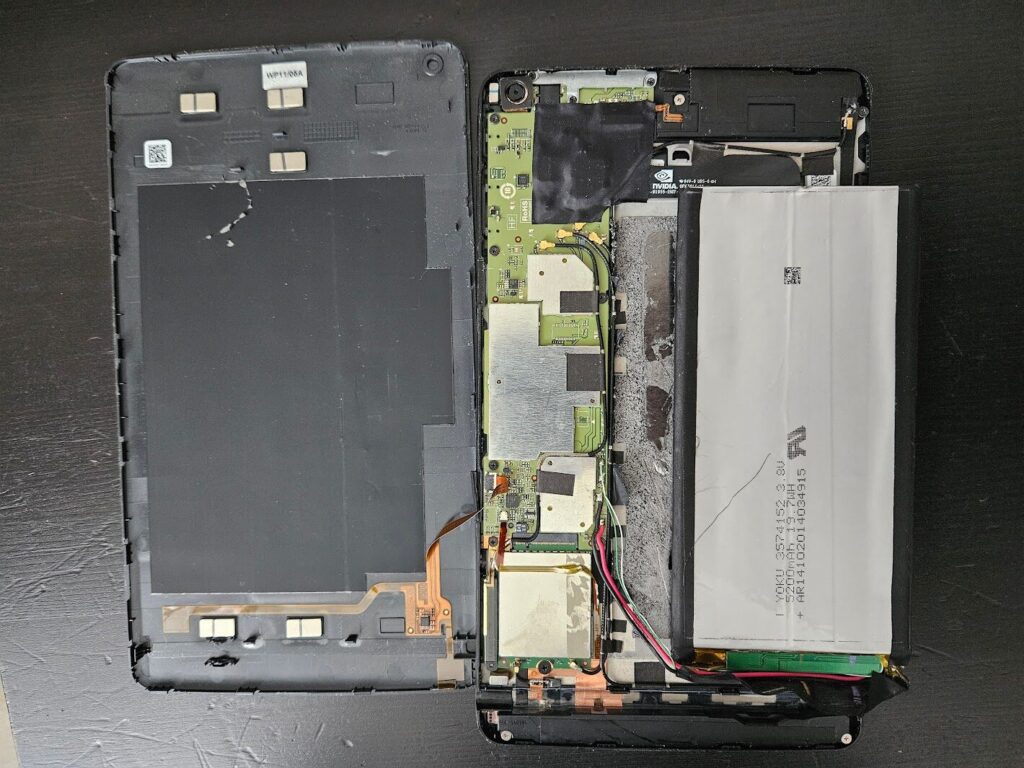
1. Remove the Battery
Ensure the tablet is completely powered off. Use a plastic opening tool to gently pry open the back cover of the tablet. Locate the battery—the large flat component occupying most of the space—and carefully unplug its connector from the motherboard. Gently lift the battery out of the housing.
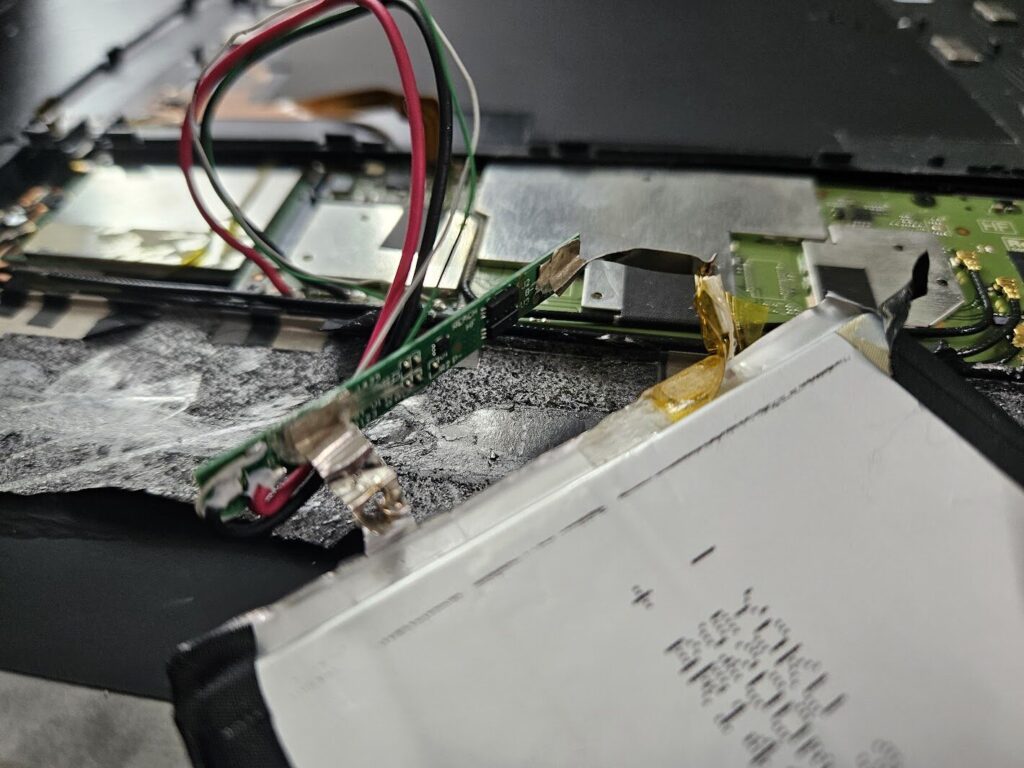
2. Cut the Red and Black Cables from Battery Board to Tablet
Identify the red (positive) and black (negative) wires connecting the battery board to the tablet. Use wire cutters to sever these wires, leaving enough length on tablet end for reconnection.
Next, cut the battery from the board to completely remove it from the device.
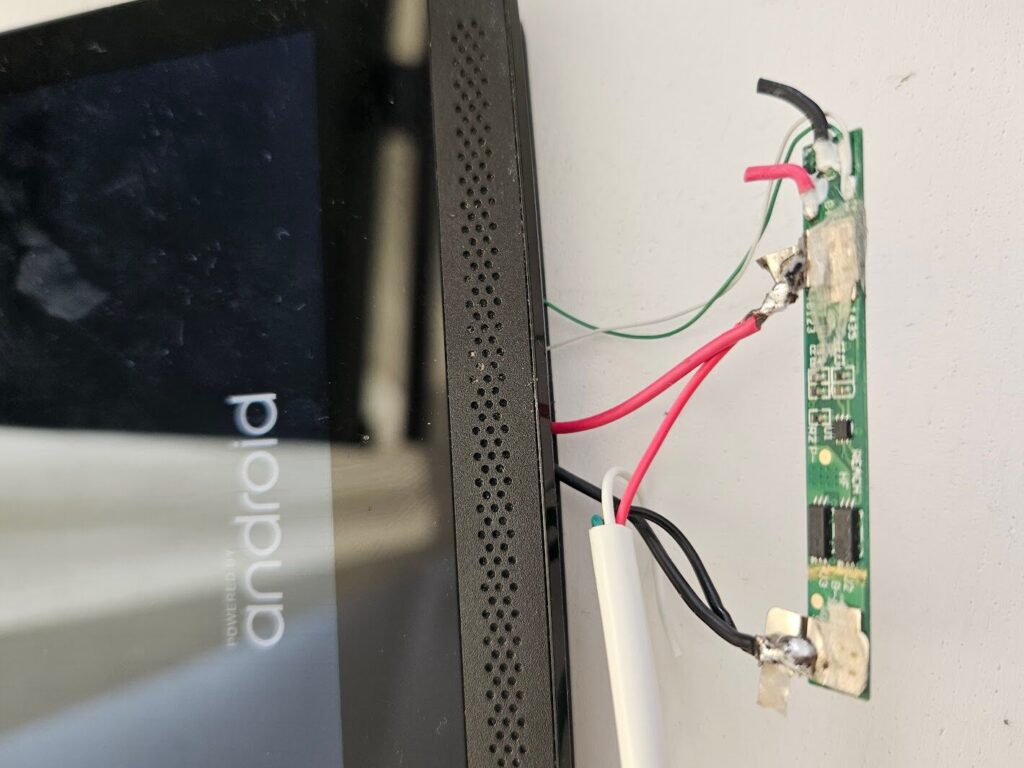
3. Wire the USB Cable with Red and Black Wires to Tablet and Battery Board
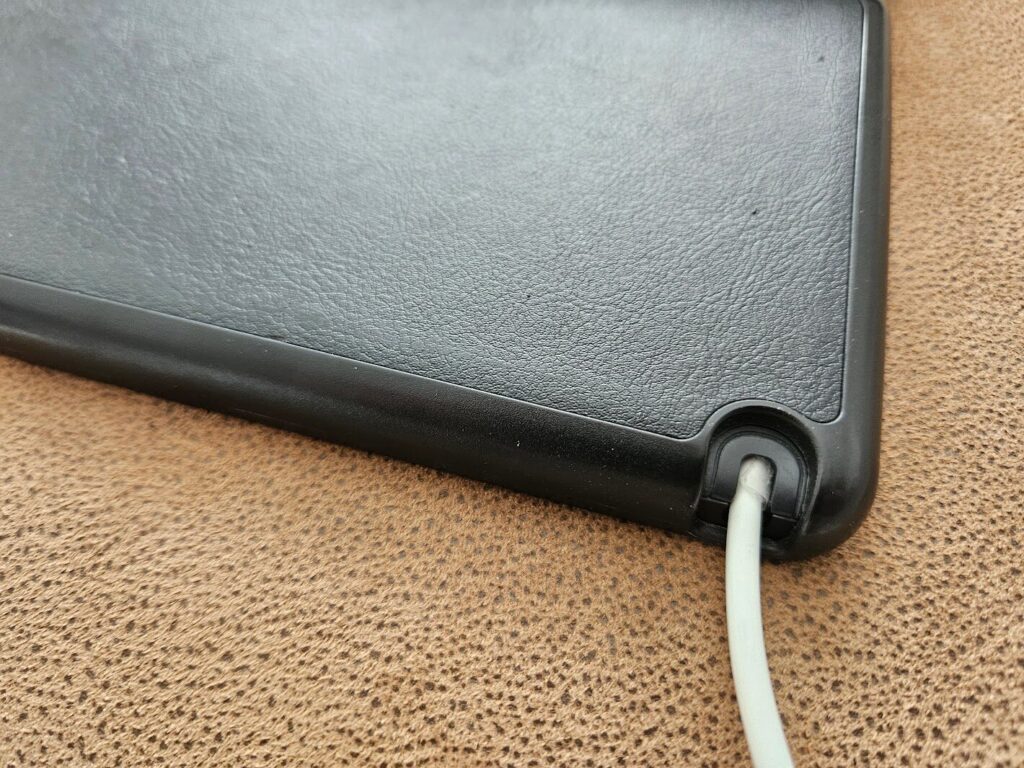
Prepare the USB cable by cutting off one end (the micro USB end) and stripping the insulation to expose the red and black wires inside. Twist or solder the red wire from the USB cable to the red wire leading to the tablet’s motherboard, and do the same for the black wires. Secure these connections with electrical tape or heat shrink tubing.
Attach the other ends of the red and black wires to the corresponding positive and negative points on the battery board (to the previously battery was connected).
4. Testing
Plug the USB cable into a power source and turn on the tablet to verify it powers up correctly. Test if the power supply is stable; using a 5W adapter may not provide enough power for continuous operation. In my experience, a 12W power adapter did the trick and kept the tablet running reliably.
Note: For additional guidance, I referred to the YouTube video Nvidia Shield K1 Tablet Battery Replacement, which offers a detailed walkthrough of the battery removal process.